Tying your belt

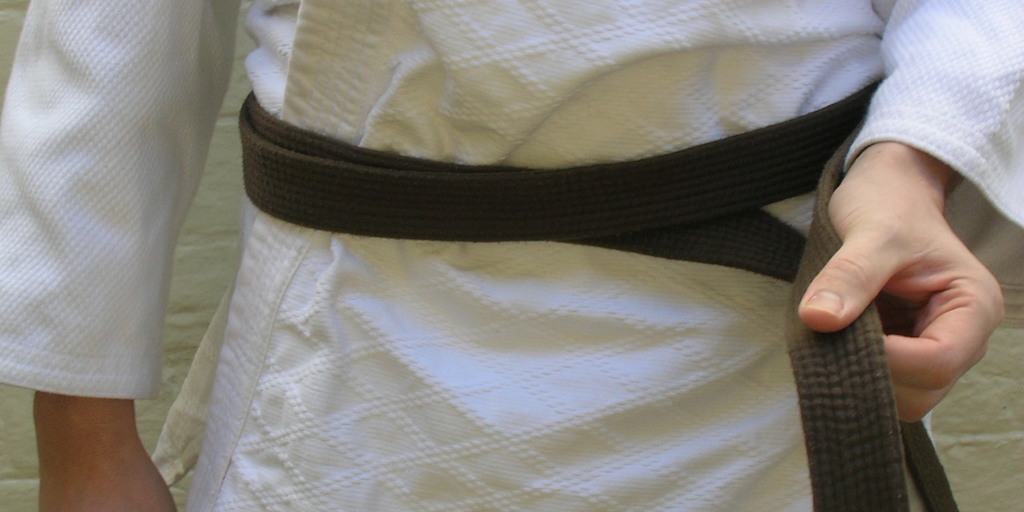
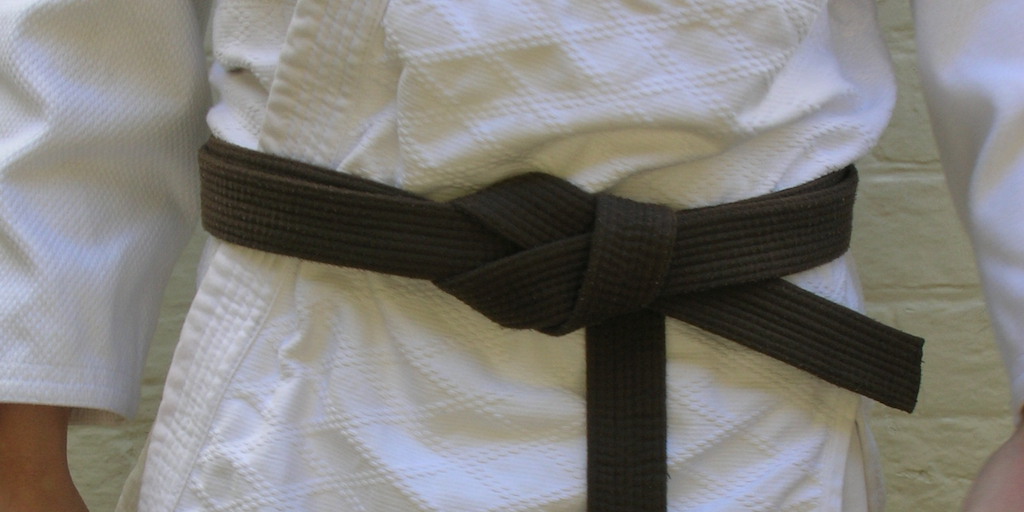
This is the best method of tying a belt I’ve found. It was taught to me nearly twenty years ago by Mike Allen.
Click the images to see them full size.

Tying the obi
  1. Place one end of the belt on your left hip and wrap it twice round your body.

    You can grip the three layers together at the front with your left hand and slide right or left until the two ends are the same length.
Tying your belt
  1. Bring the end on your right under all layers and straight up.

    Keep it to the right of centre. You are building a big, flat, open knot. Pull this snugly tight, but not too tight. From here on there is enough tension in the knot that the belt won’t just fall off you.
Belt tying
  1. Take the same end across the centre and down between the two layers at about a 45° angle.

    Don’t pull it too tight, just take up the slack.
Obi tying
  1. Take the other end straight up (left of centre) and on top of all layers …
How to tie your belt
  1. … and then straight back down (still left of centre) under all layers.
How to tie the obi
  1. Reach through the centre of the knot with your right thumb and index finger to grasp the (same) end …
Best way to tie a belt
  1. … and draw it through the centre of the knot and take up the slack.

    Note the left hand holds all layers to the left of the knot to prevent the knot being pulled too tight and out of shape.
Best way to tie the obi
  1. Continue to stabilise the knot with your left and continue to pull the end in your right hand steadily.

    The end of the belt will roll over and slip down between the two layers, locking the whole knot in place.